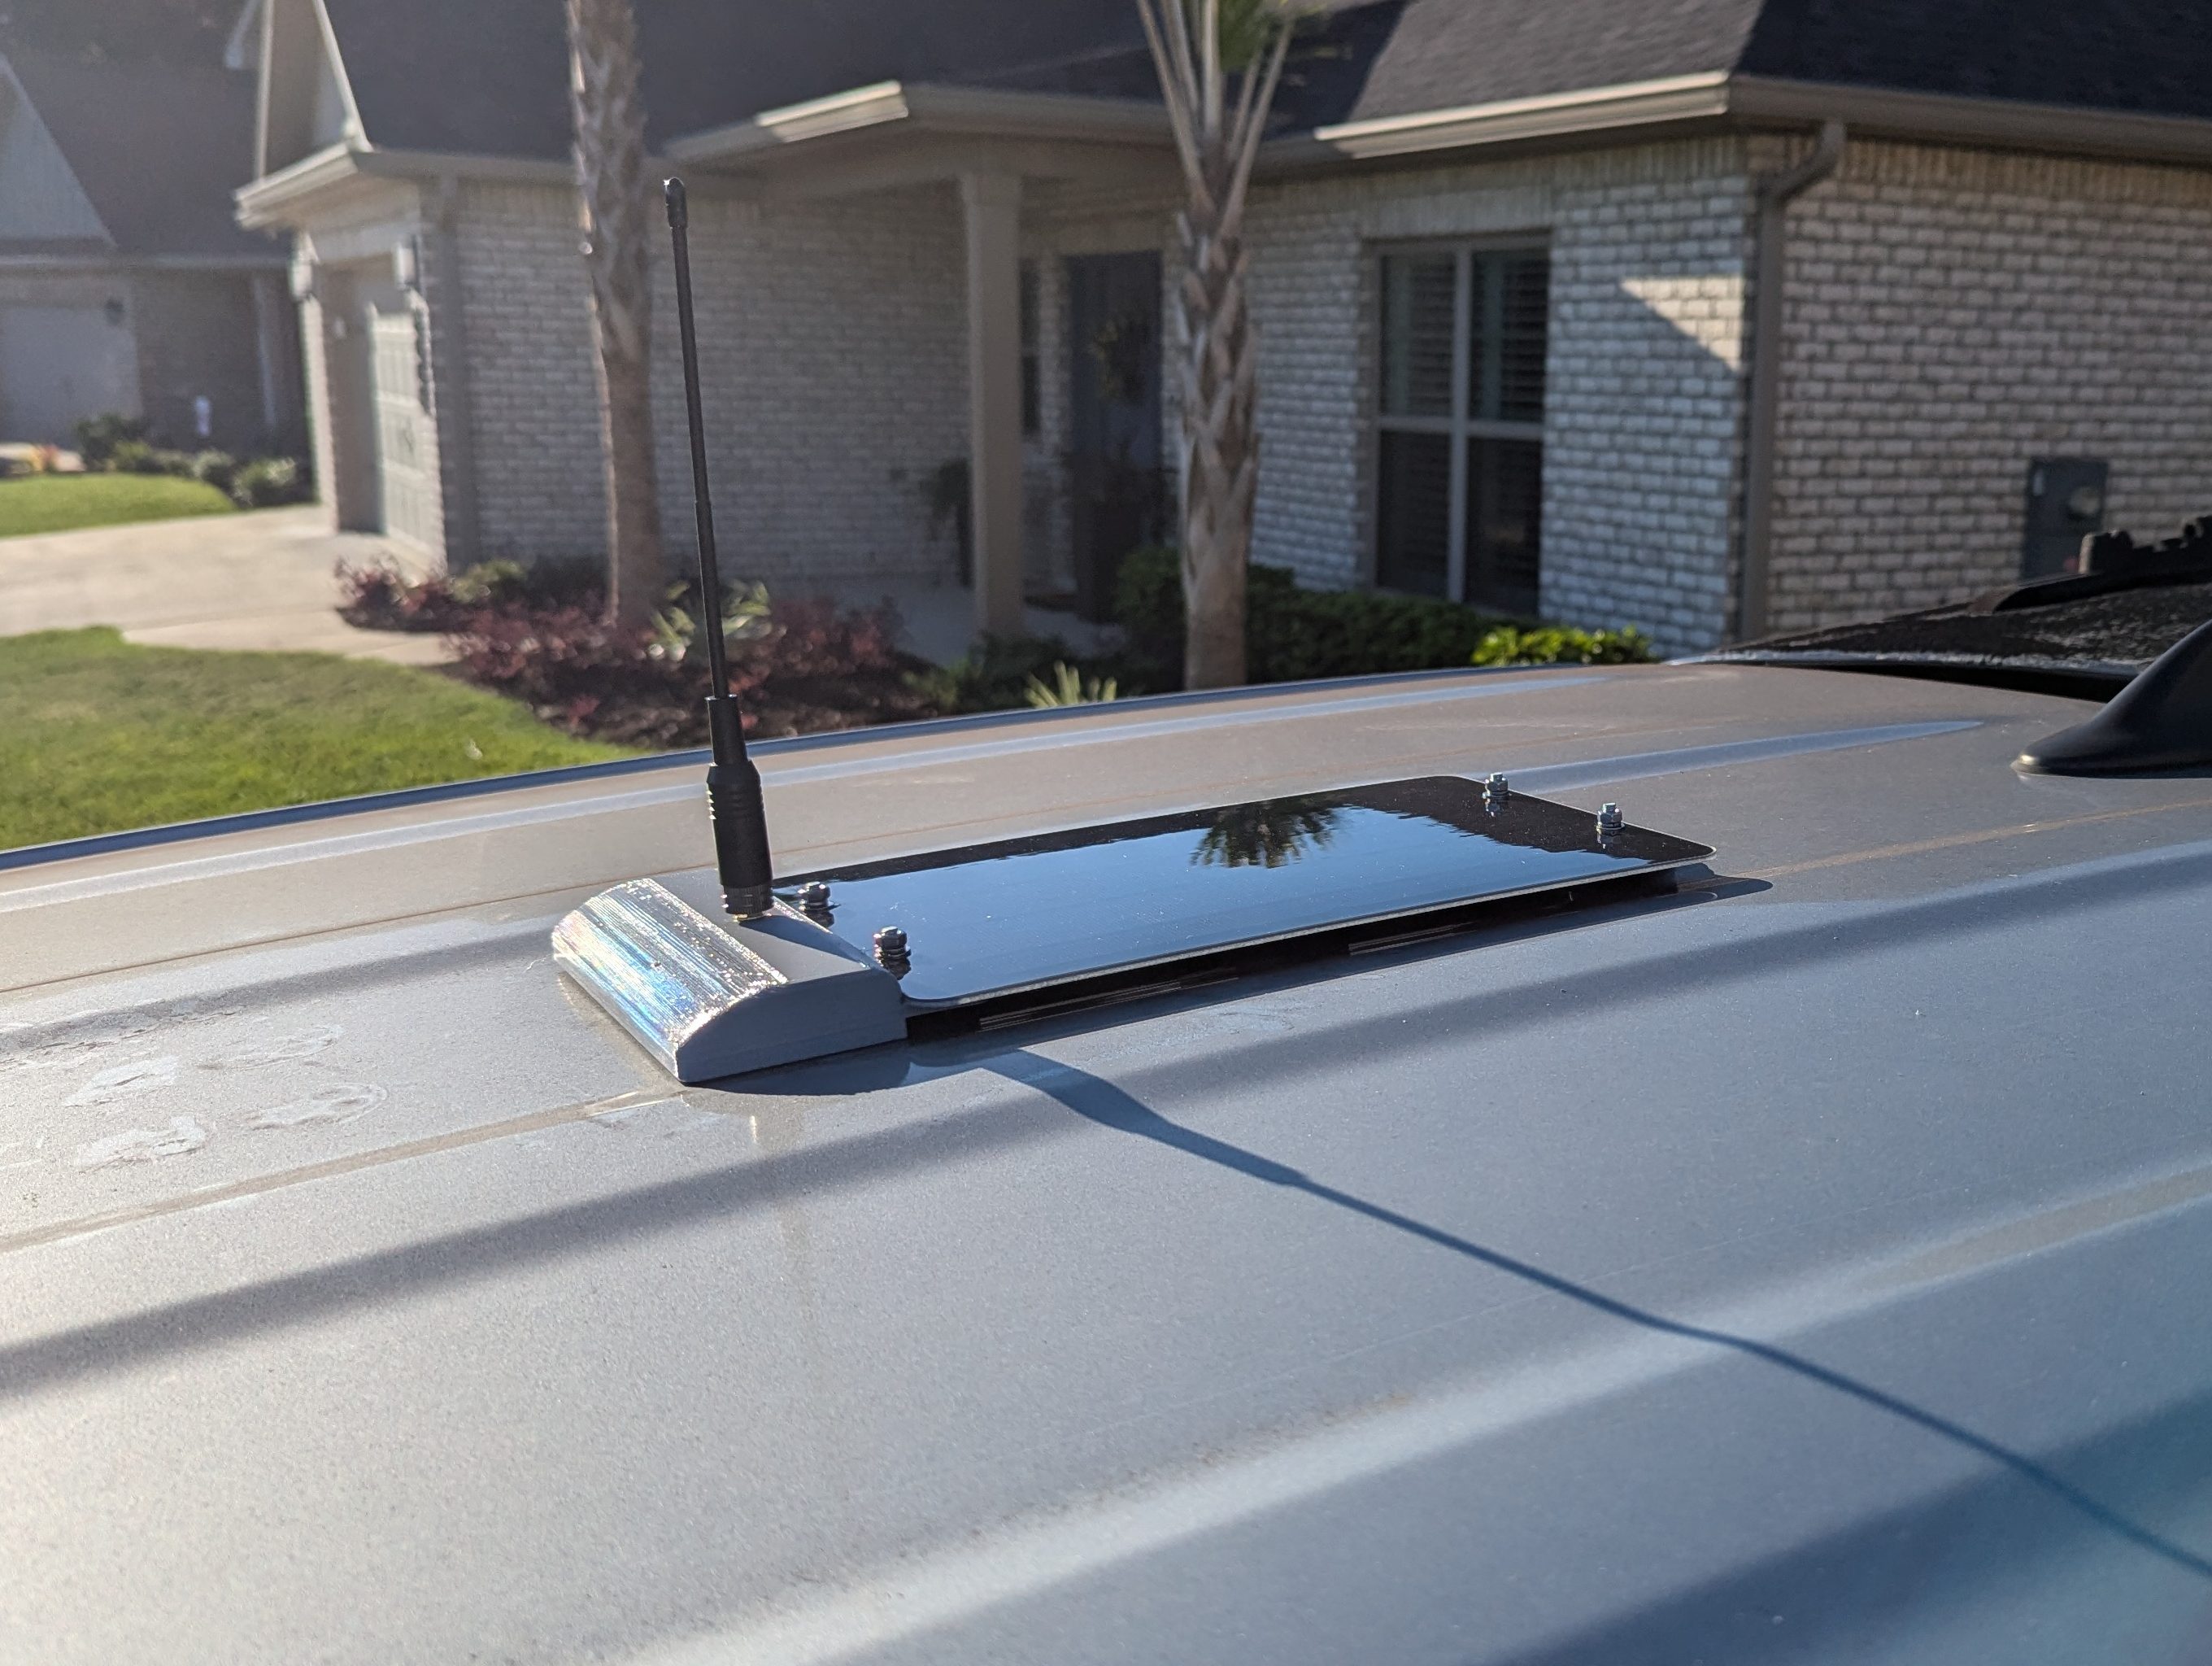
Meshtastic is all about staying connected, and a mobile solar-powered node adds flexibility and independence to your network. In this post, I’ll walk you through building a Meshtastic node designed to be mounted on top of a vehicle. This node is powered by a solar panel and includes GPS functionality for precise tracking—perfect for mobile applications like road trips or emergency response scenarios.
Note: Some of the components for this build will need to be 3D printed using the provided files and recommended materials.
Parts List
Here are the components you’ll need for this build:
- Radio: RAKWireless WisBlock Meshtastic Starter Kit
- Antenna: 2.5 dBi Soft Flexible Whip Antenna
- GPS Module: RAK12500 GNSS GPS Location Module
- Solar Connector Cable: RAKWireless Solar Connector Cables
- Battery: 1,100mAh Rechargeable Lithium Battery Pack
- M3x6mm Screws: Socket Head Screws
- Solar Panel: 6W Solar Panel
- Mounting Magnets: 30 lb Magnets
- 3D Print Files: Low Profile Solar Meshtastic Car Node
- Filament – PETG (Case): PETG Filament
- Filament – TPU (Gasket): TPU Filament
Assembly Steps
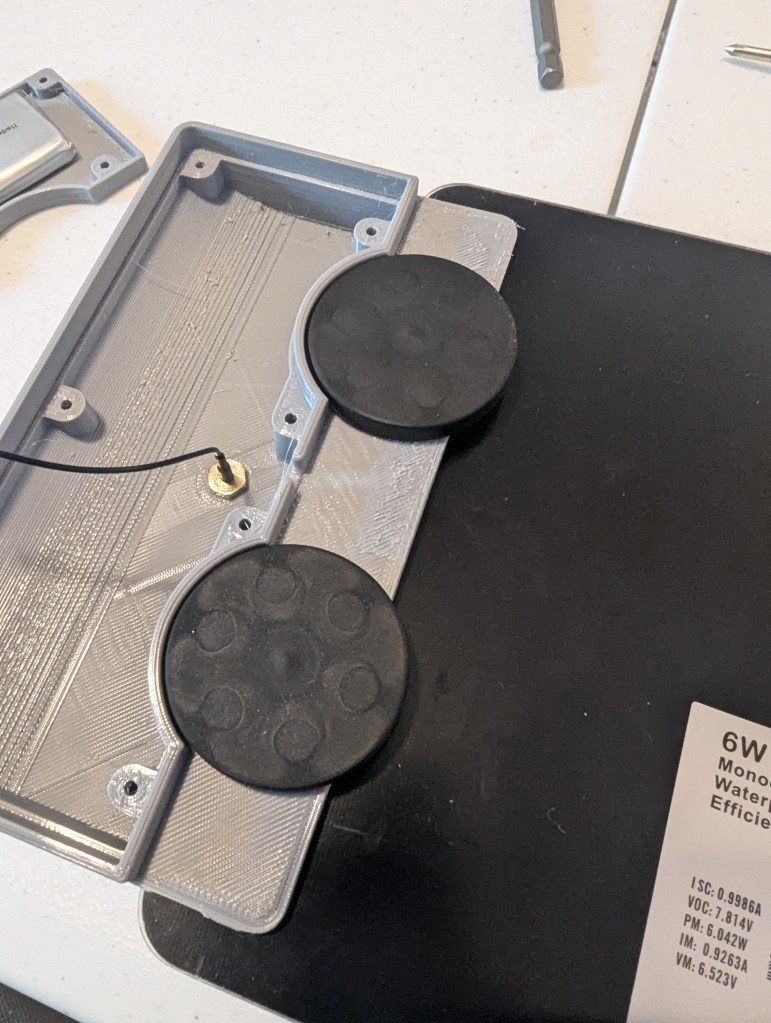
The case and gasket will need to be printed ahead of starting assembly. The project files contain a base for mounting either the RAK19007 or RAK19003, and a case for either an SMA connector or an N-type connector. In this post, we will be using a RAK19007 and an SMA connector.
- Prepare the WisBlock:
- Connect the WisBlock to your computer and update it to the latest stable (or your preferred) firmware. Instructions can be found here.
- Check and Modify the Battery Polarity:
- If using the linked battery, the polarity of the wires needs to be swapped. Use tweezers or a blade to lift the white tabs on the connector, remove the wires, and swap their positions. Be careful not to short the battery.
- Attach the GPS Module:
- Install the GPS module onto Slot A of the WisBlock base board, and attach the GPS and Bluetooth antennas.
- Secure the WisBlock in the Case:
- Use the provided 2.5mm screws to attach the WisBlock to the base of the 3D-printed case.

- Mount the Battery:
- Use double-sided tape to secure the battery to the base of the case. Do not connect the battery yet.
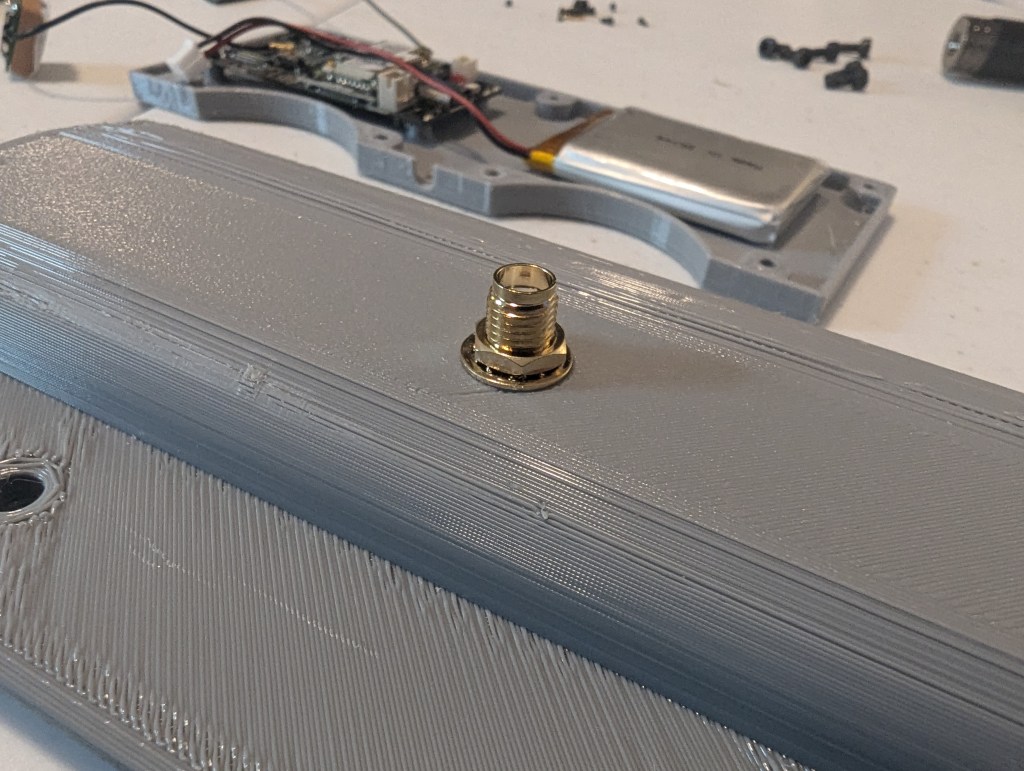
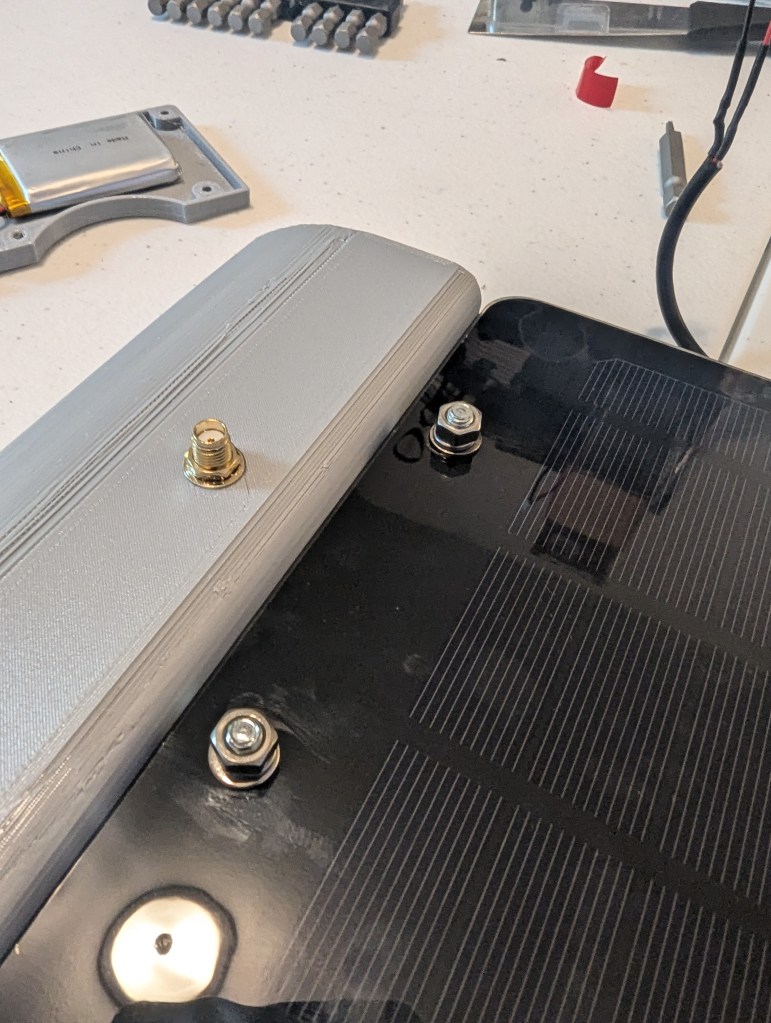
- Install the Antenna Connector:
- Attach the SMA pigtail connector to the top of the base using the hardware provided with the WisBlock.
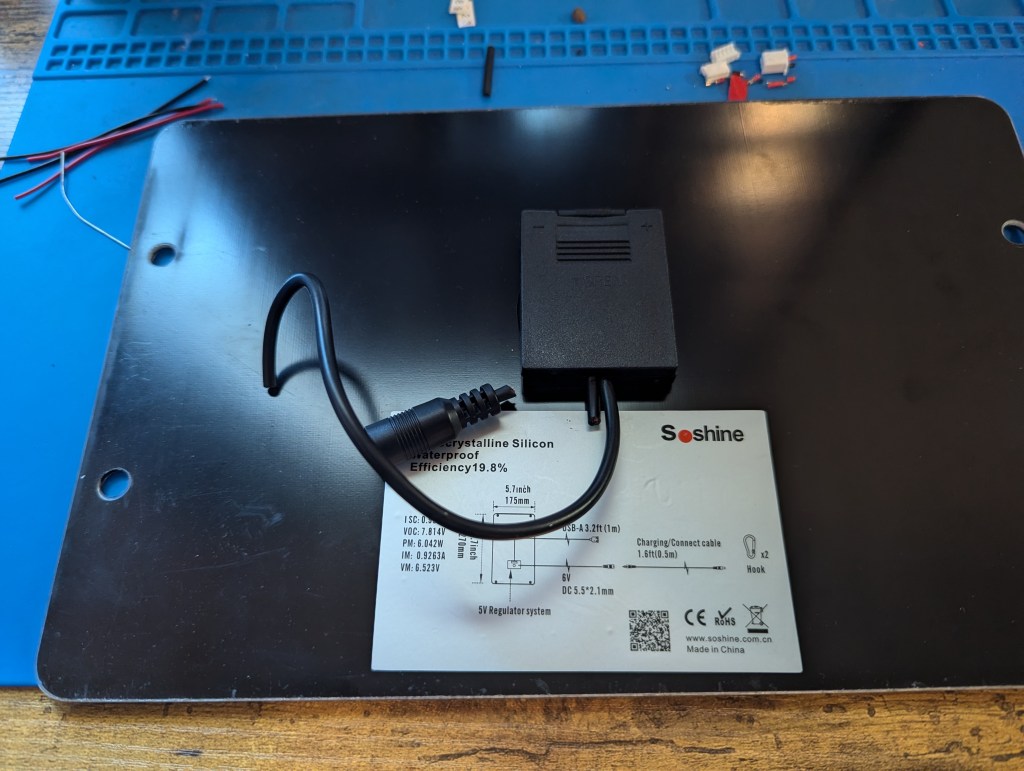
- Prepare the Solar Panel:
- Modify the Wiring:
- Cut off the DC power jack and trim the USB cable to about 7.5 inches.
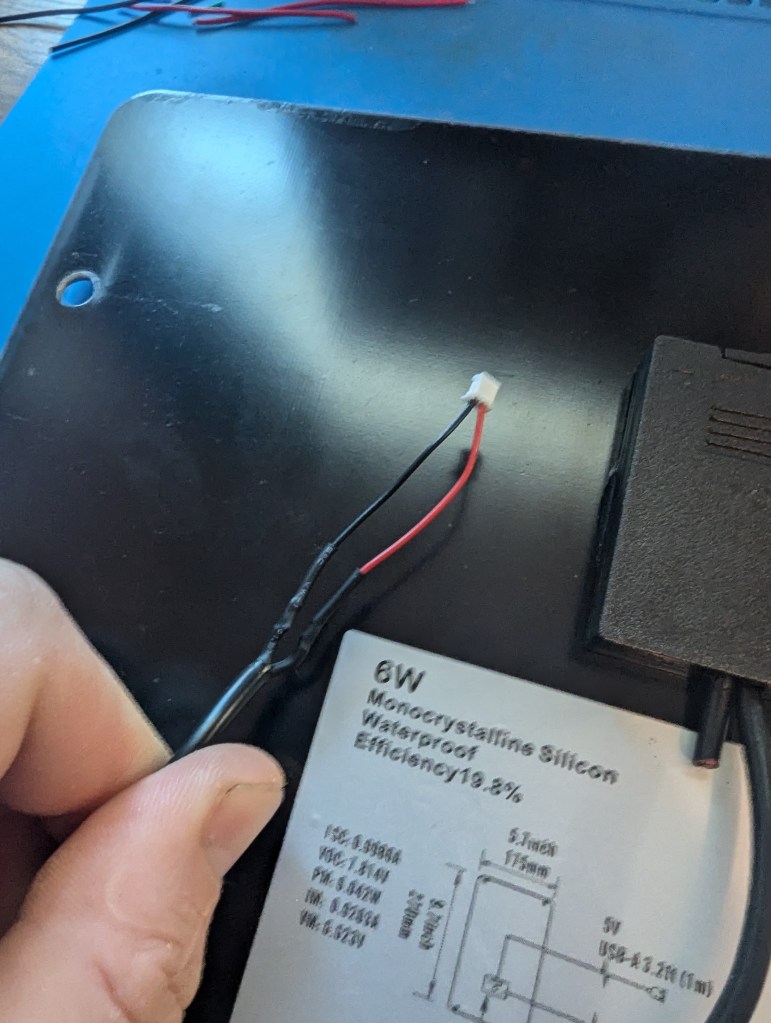
- Strip 0.75 inches of the black cable insulation, trim the green and white wires, and strip the red and black wires about 0.25 inches.
- Trim the solar connector cables to about 2 inches and strip their wires.
- Solder the solar connector cables to the panel wires (red-to-red, black-to-black), and cover the solder joints with heat shrink.
- Modify the Wiring:
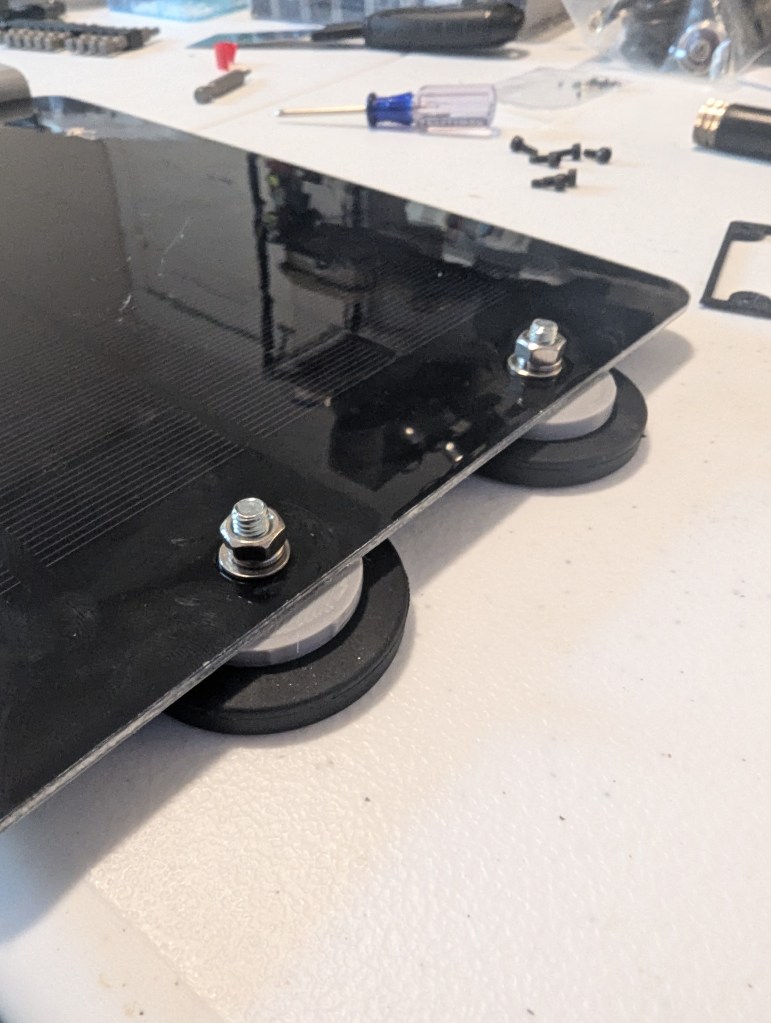
- Attach the Solar Panel:
- Mount the solar panel to the printed case using magnets, nuts, flat washers, and lock washers. Ensure the nuts are tight enough to engage the lock washers but not so tight that the panel cracks.
- Attach spacers and additional magnets to keep the panel flat when mounted on a vehicle.
- Install the TPU Gasket:
- Place the TPU gasket on the case with the flat side toward the bottom cover.

- Attach the GPS Antenna:
- Secure the GPS antenna to the underside of the case. (Make sure it’s installed on the correct side of the case.)
- Connect Everything:
- Attach the SMA and GPS connectors to the WisBlock. Connect the solar panel wires to the WisBlock as well.

- Finalize the Build:
- Quickly plug in the battery, flip over the case, and secure the bottom with seven M3x6mm socket head screws. Ensure wires are tidy and not pinched.

- Attach the Antenna:
- Finally, connect the antenna to the SMA connector.

Mounting and Usage
- Vehicle Mounting: The built-in magnets make it easy to mount the node on the roof or hood of your vehicle. The solar panel keeps the battery charged during use.
- Applications: This node is perfect for mobile Meshtastic setups where GPS tracking and long-term power are essential.
Final Thoughts
This build combines portability, solar power, and GPS functionality into a compact unit that can be mounted on any vehicle. It’s perfect for expanding your Meshtastic network in mobile scenarios. Let me know if you try this build or have any questions about the process!

Leave a comment