If you’re looking to extend your Meshtastic network with a robust, long-range node, a solar-powered build might be just what you need. In this post, I’ll walk through the components I used to create a reliable, outdoor Meshtastic node designed to maximize both range and battery life.
Parts List and Purpose
Each component in this build serves a specific purpose, and I’ve chosen each with durability and performance in mind.
- Radio – RAKWireless WisBlock Meshtastic Starter Kit
- RAKWireless WisBlock Meshtastic Starter Kit
- Why I Chose It: The RAKWireless WisBlock starter kit is a versatile, reliable base for Meshtastic nodes. It’s easy to configure and works well with a variety of accessories, making it a solid foundation for a custom build. The RAKWireless module is also extremely energy efficient, so it will not drain the battery when solar power is not available.
- Antenna – 6 dBi Low Profile Omni Outdoor 915 MHz Antenna
- 6 dBi Omni Antenna
- Why I Chose It: A high-gain antenna like this one maximizes range, ensuring the node can cover a wider area. Its low profile also keeps the setup compact while enhancing signal reach.
- Antenna Connector – U.FL/IPEX to N-Male Pigtail Cable
- U.FL/IPEX to N-Male Pigtail
- Why I Chose It: This pigtail connector bridges the small U.FL connector on the WisBlock to the N-type connector on the outdoor antenna. It’s essential for secure, low-loss signal transmission between the radio and antenna.
- Antenna Gasket
- 5/8″ Hose Washer
- Why I Chose It: This hose gasket is the perfect fit for N-type connectors, like the one found on the antenna listed above. This gasket provides a water-tight seal at the base of the antenna, preventing water from entering the enclosure.
- Enclosure – Waterproof Project Box
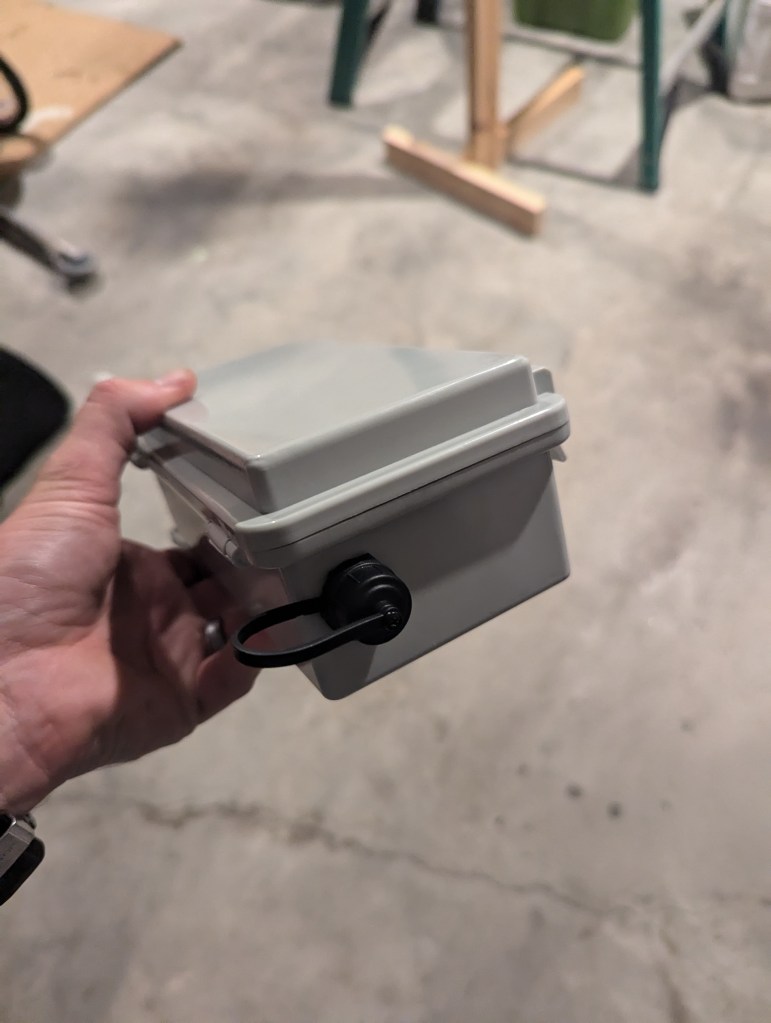
- Waterproof Enclosure
- Why I Chose It: This waterproof enclosure provides excellent protection against the elements, making it ideal for outdoor installations. It also has ample space for the radio, battery, and wiring.
- Breather Plug
- M12-1.5-10 Venting Screw
- Why I Chose It: A breather plug is a valuable addition to an outdoor enclosure because it allows for pressure equalization and prevents condensation build-up inside the enclosure.
- Battery – 6,600mAh Rechargeable Lithium Battery Pack
- Rechargeable Battery Pack
- Why I Chose It: A high-capacity battery like this ensures the node will run for extended periods without sunlight. Its lithium chemistry provides steady power output, which is great for low-power devices like Meshtastic nodes. Without solar power, the node should last weeks (depending on mesh traffic).
- USB-C Bulkhead
- USB-C Bulkhead
- Why I Chose It: For easy charging and maintenance, I added a USB-C bulkhead that allows secure connections without opening the enclosure. This feature makes recharging the battery or updating firmware straightforward. This also allows the solar panel to charge the node without using the RAKWireless solar input. There are some issues with the on-board solar charge controller if the battery dies and the unit shuts off.
- Solar Panel – 5W Solar Charger
- Solar Panel
- Why I Chose It: This 5W solar panel is more than capable of keeping the battery charged under normal sunlight conditions. It’s a crucial addition for ensuring the node remains operational for long periods without manual recharging. I’ve found that under normal conditions, the solar panel keeps the battery topped off with only a few hours of sunlight.
- Mounting Magnets
- Neodymium Magnets
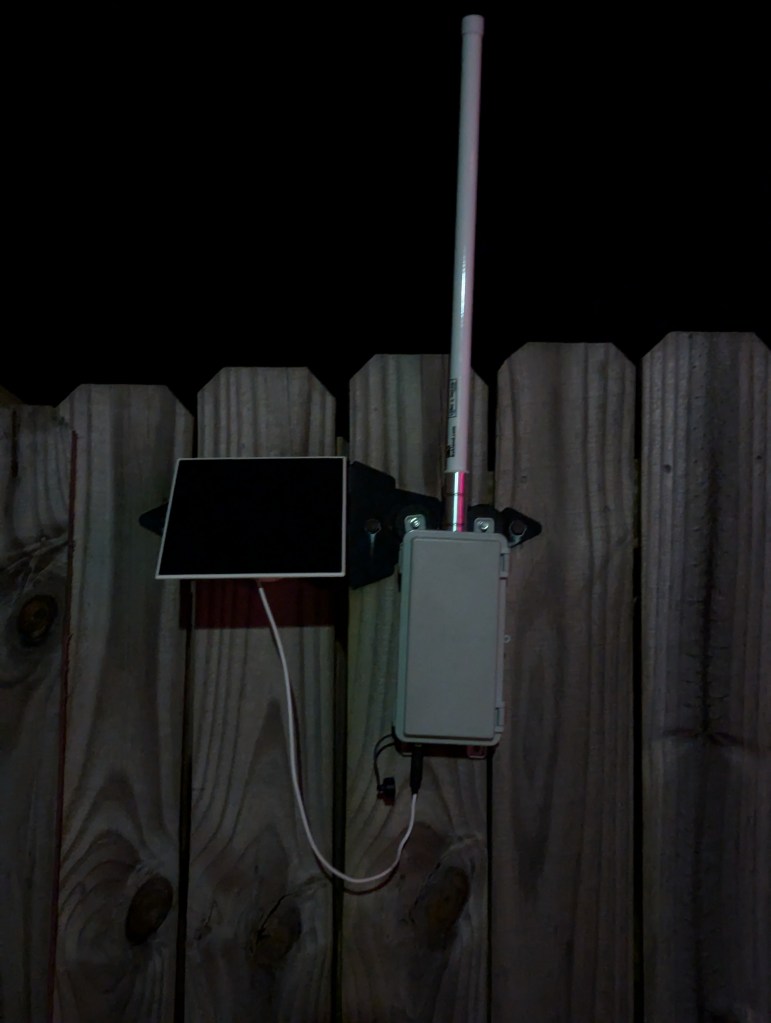
- Why I Chose It: To make installation easier, I added strong magnets that allow the node to mount on metal surfaces. This feature makes the node easy to relocate if needed. These magnets can also be used to mount the solar panel, as shown in the photos below.
- 3D Printed Base for Mounting the WisBlock
- RAK19007 WisBlock Base Board Mount
- Why I Chose It: To securely mount the WisBlock inside the enclosure, I used a 3D-printed base that fits perfectly. This base provides stability, keeping the radio and wiring organized within the project box.
Assembly and Setup
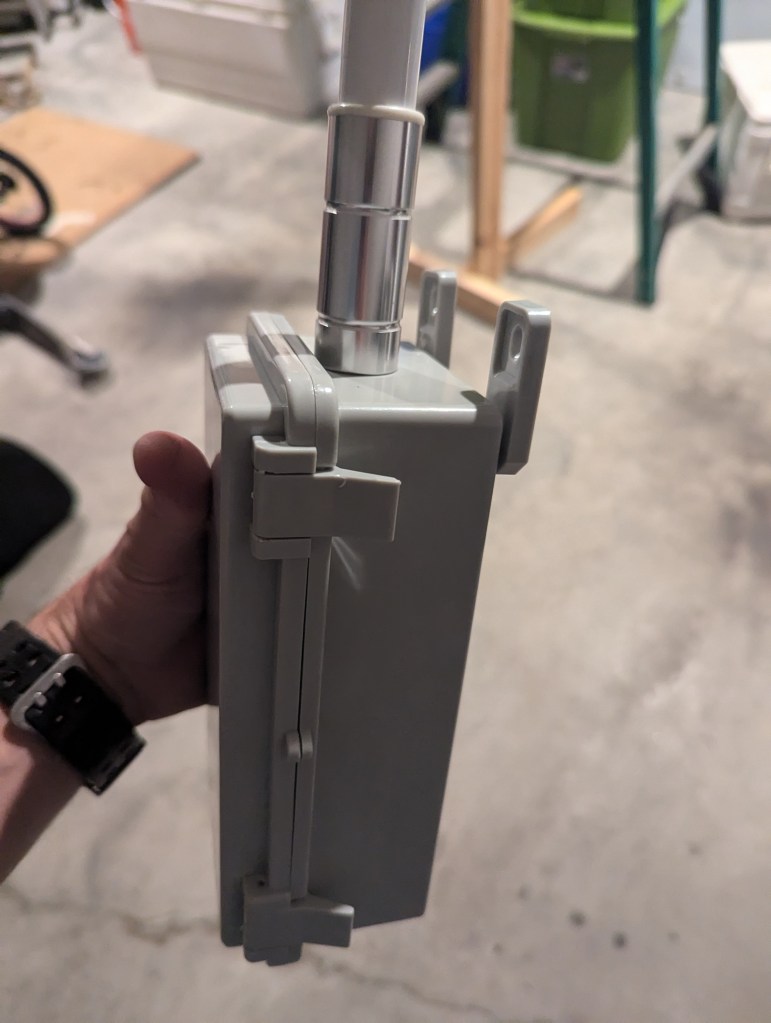
- Mount the WisBlock: Use the 3D-printed base to mount the WisBlock inside the enclosure, ensuring there’s enough space around it for wiring.
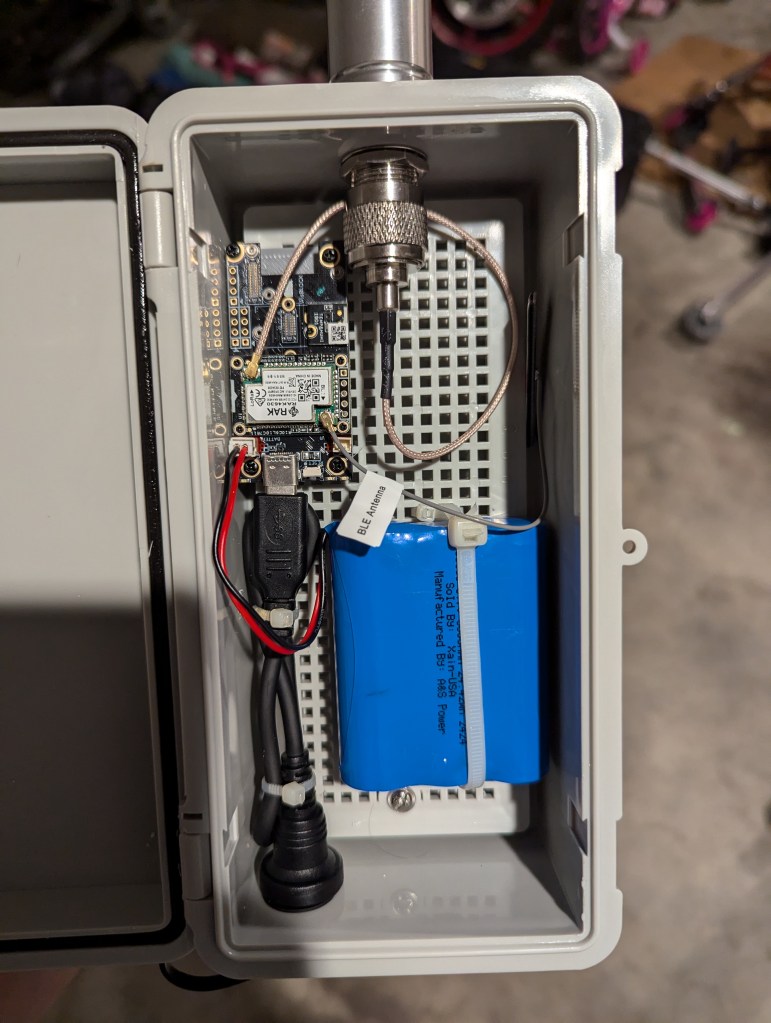
- Connect the Antenna: Attach the U.FL-to-N pigtail to the WisBlock’s U.FL connector, then connect it to the antenna. Make sure the pigtail is securely tightened to prevent any signal loss.
- Battery and Solar Panel: Secure the battery inside the enclosure and connect it to the WisBlock. Mount the solar panel on the exterior of the enclosure or another nearby surface, positioning it to get maximum sunlight.
- USB-C Bulkhead Installation: Install the USB-C bulkhead on the side of the enclosure, making sure it’s properly sealed. Connect it to the WisBlock to allow easy recharging.
- Magnet Mounting: Attach the magnets to the back of the enclosure for flexible mounting options on metal surfaces.
Performance and Testing
Once assembled, place the node in a location with clear access to sunlight for the solar panel. I tested this build in several outdoor locations, and the high-gain antenna and Router Mode configuration significantly improved network range and reliability.


Leave a comment